Quantcast
  • Contact
  • Portfolio
  • Subscribe
  • Recipes
Menu

Set the Table Photography

photography
  • Contact
  • Portfolio
  • Subscribe
  • Recipes
×
Sugar Free Recipes for 2015

Sugar Free Recipes for 2015

Rachael White January 1, 2015

I try not to make a habit of looking back on things too obsessively. I don't always succeed, but I give myself an 'A' for effort. It seems that lingering on what has happened in the past only makes it harder to move forward and become a new, more improved person. That doesn't mean there aren't things worth revisiting, but it's important to put them in a place that is easily tucked away after sufficient time has been spent mulling it over. In 2014, I feel like I experienced the best and the worst of what life has to throw at a person. From the new life growing inside me, waiting to welcome the world with what will no doubt be squirming little legs and curious eyes, to the untimely loss of a friend, to the many things scattered among the grey areas in between, it has been an emotional year. Will looking back and obsessing over all of these things make them any better? Probably not. Instead, I chose to revisit them temporarily. The good and the bad bring lessons that can only help me move forward.

Smoothie Monster
Smoothie Monster

On the less heavy side of things, I have been revisiting my food choices over the past year. As some of you may remember, I took Jacqueline Smith's Go Sugar Free course around this time last year. I have to say that it was one of the best decisions I made in 2014. Not only am I more aware of what I'm putting in my own body, but I'm better at making sure the foods I feed my family are whole and healthy (more smoothies, please). As I browsed through my blog looking for recipes to share from 2014, I realized that I have a pretty wide range of GSF-friendly meals in my archives. So, instead of making this a "look what happened in 2014" kind of post, I'm approaching it as more of a "here's what to cook more of in 2015" kind of post.

Here is what I loved the most about looking through those recipes:

  • They are some of the most naturally beautiful dishes I've made
  • They are some of the most delicious dishes I've made
  • I feel good about sharing them with anyone and everyone because they are nourishing and whole and good. And yes.

From pasta to cocktails and everything in between, I love how much I've learned about cooking with a sugar free mindset. I don't feel as restricted as I thought I would. Instead, I feel more free. For my personal version of Go Sugar Free, now that I'm done with the course, I allow myself small amounts of sugar because that works for me. For some, it makes them feel better to cut it out completely. There is flexibility, my friends! And it is a wonderful thing.

If you're feeling like you need a jump-start to the new year, I highly recommend taking the Go Sugar Free course. The next one begins on January 7th (and registration is open until then unless the course fills up first) and runs through March 14, 2015.

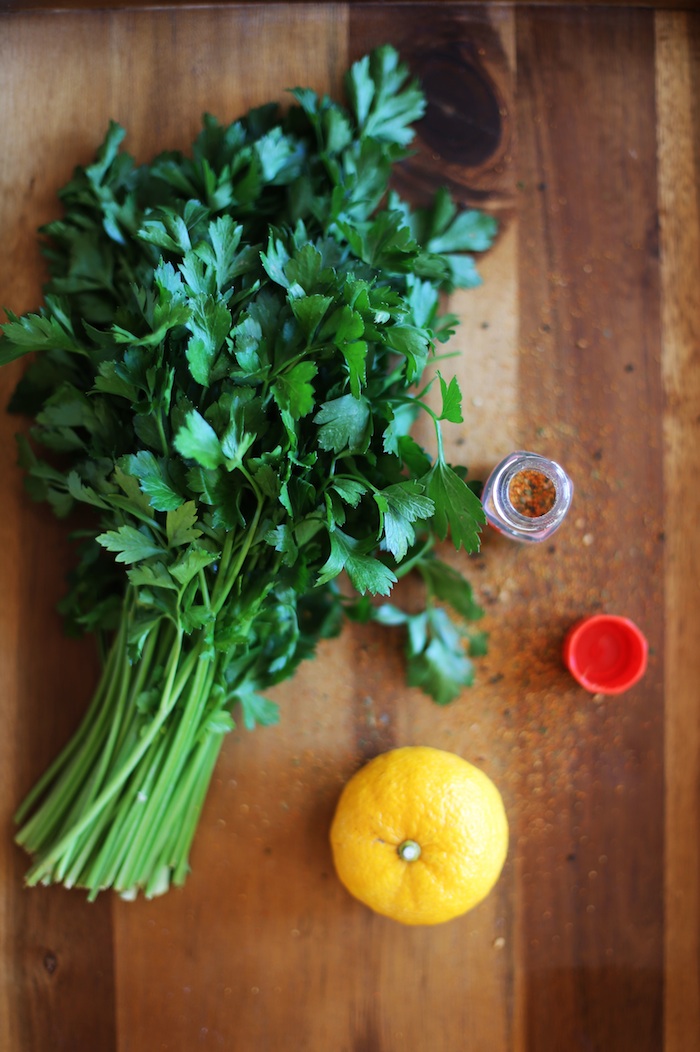
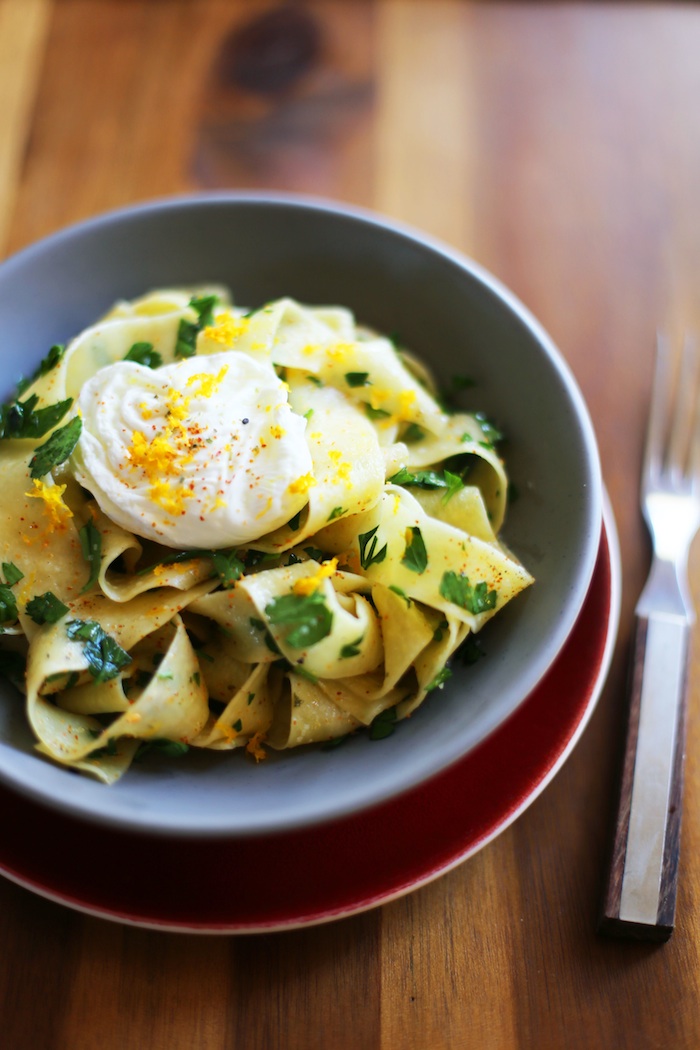
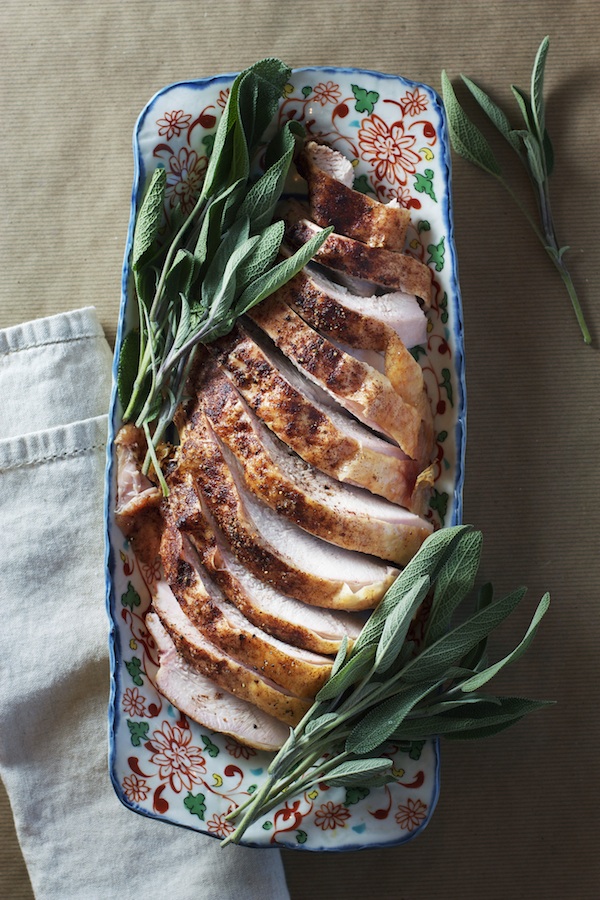
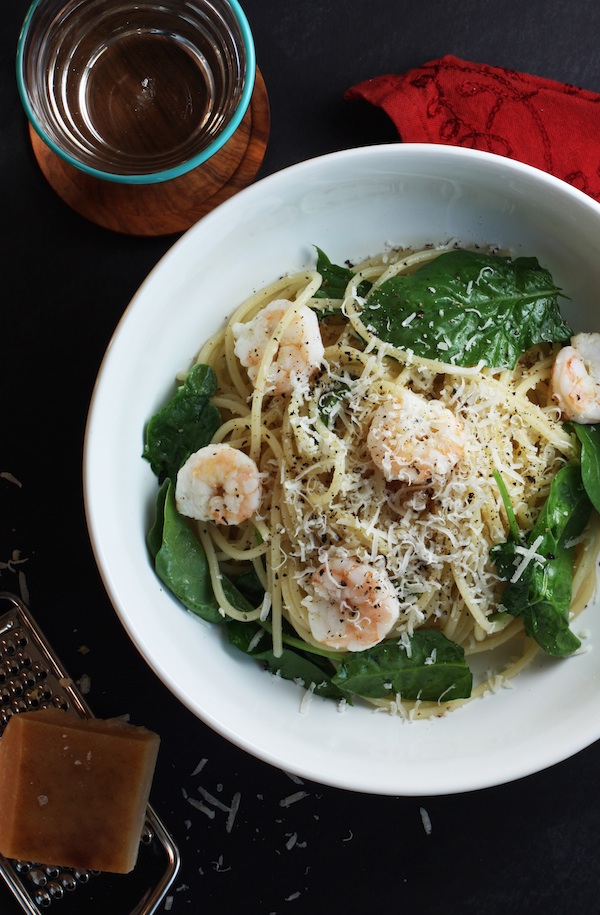
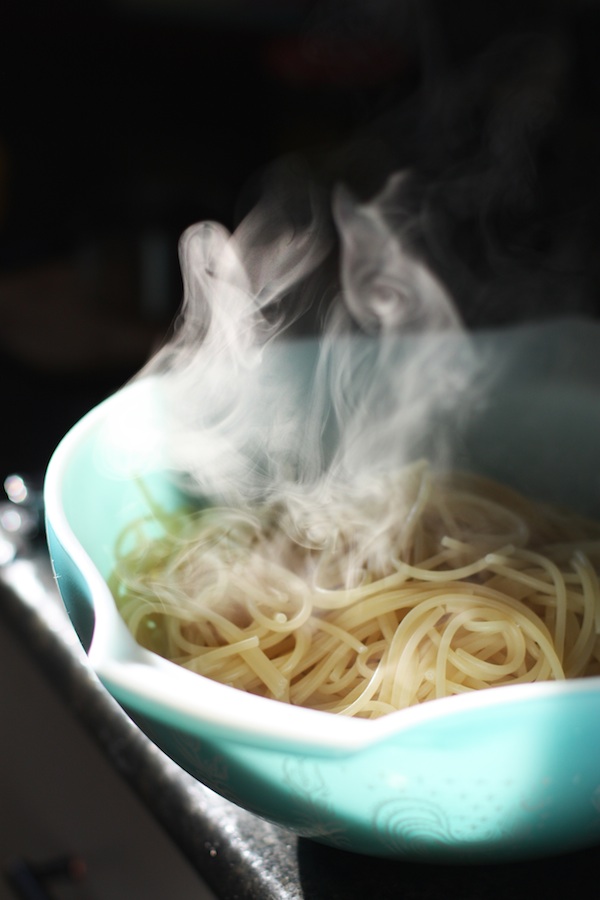
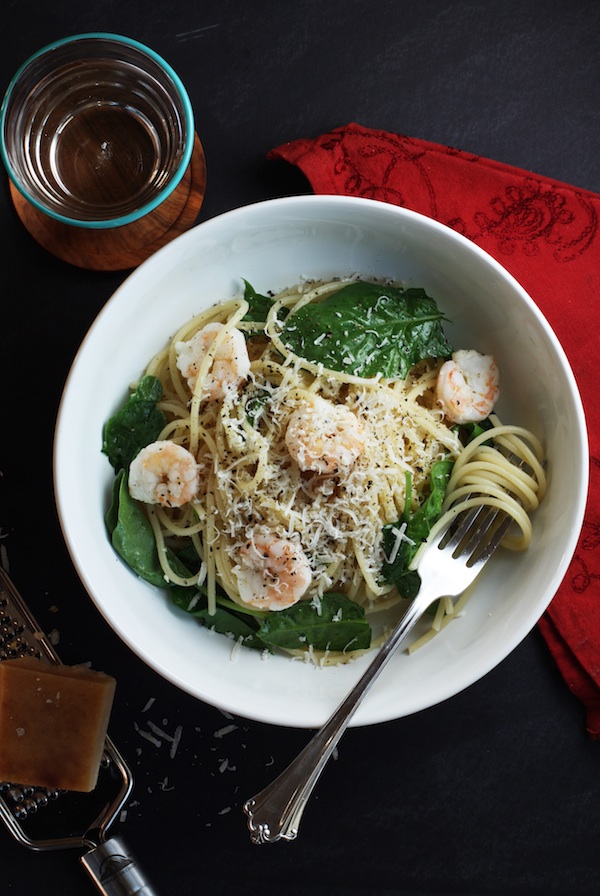
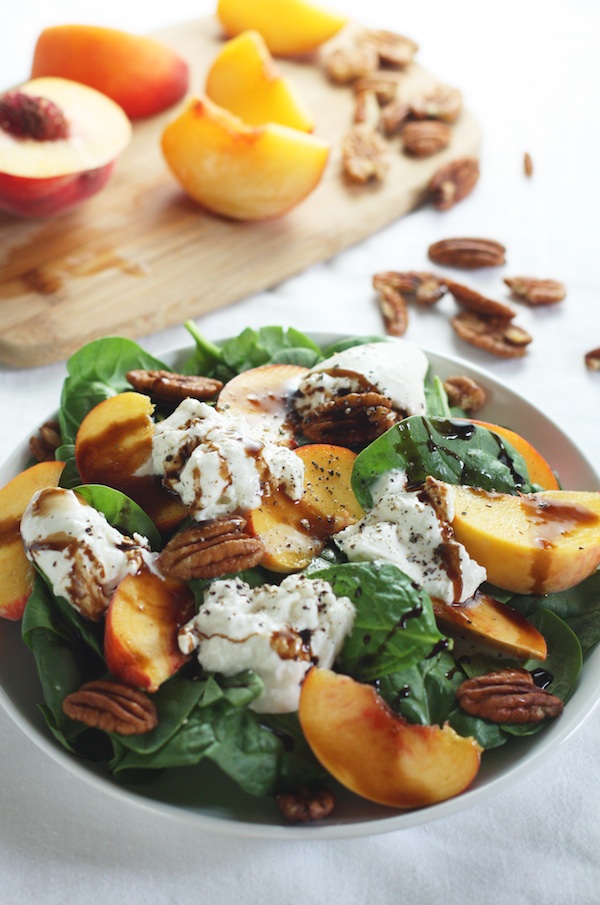
If you're looking for a reason to get excited about this course, here is a list of my Go Sugar Free friendly recipes from the blog. More will be coming your way this month, but these are a great place to start. Just click on the recipes below to be taken to their homepage where you'll find more photos, more info on GSF, and the easy steps to make each dish.

  1. Healthy Strawberry Almond Smoothie
  2. Acorn Squash Polenta with Coconut & Spiced Brown Butter
  3. Curried Pumpkin Hummus
  4. Pumpkin Spice Oatmeal
  5. Healthy Caprese Pasta Bake
  6. Wild Rice Salad with Citrusy Tahini Vinaigrette
  7. Pineapple Coconut Mojito
  8. Roasted Carrot Soup with Greek Yogurt
  9. Salmon Sashimi Rice Bowl
  10. Peanut Butter & Date 'Jelly' Bulgur Wheat
  11. Baked Eggs, Rainbow Chard & Yogurt
  12. Date Simple Syrup (great for cocktails or for sweetening coffee!)

Even if you don't sign up for the GSF course, I hope you'll take a look at Jacqueline's website. She has some great information and resources there to help you become more conscious of the food you are putting into your body and the routines you set up to make each day a healthier, more focused experience. I can't think of a better way to start a brand new year.

Cheers to a healthy, happy 2015!

*This post contains affiliate links.

In Breakfast & Brunch, Kid Friendly, Lunch & Dinner, No Added Sugar, Vegetarian, Cocktails and Appetizers Tags go sugar free, healthy recipes, no sugar added, sugar free recipes
2 Comments
Papardelle-with-Yuzu-Togarashi-Set-the-Table1.jpg

Papardelle with Parsley, Yuzu & Shichimi Togarashi

Rachael White December 12, 2014

Like most people, I'm a fan of a simple bowl of pasta. There's something that feels fancy, like a new pair of sassy heels, when you're twirling long, ribbon-like noodles around the tines of a fork. And yet, there is a sweatpants-like comfort about the chewy noodles traveling from your mouth to your belly, filling you up and making you feel cozy all over. My favorite kind of pasta has to be papardelle. It's long, flat, eggy noodleness is something I simply cannot resist. And I don't like to dress it up too much. A simple pat of butter with a sprinkling of salt and pepper or parmesan cheese is really all it needs. Still, sometimes I feel guilty eating a bowl full of white carbohydrates, so I add lots of fresh parsley to make myself feel better. Plus, it's just so pretty having all those little green flecks scattered throughout the bowl. This particular recipe is inspired by some Japanese flavors that aren't normally used in pasta dishes. I was feeling a little rebellious and decided to channel that feeling by adding yuzu zest and shichimi togarashi to this bowl of deliciousness. Papardelle with parsley, yuzu & shichimi togarashi is allowed, right? Right.

Parsley-Shichimi-Yuzu-Set-the-Table.jpg

If you've never tried shichimi togarashi, I highly recommend that you get right on that. Now. I'll wait.

OK, if you can't go try it right this second, I'll give you a little info on what to expect. It's basically a condiment with a red pepper flake base and bits of sesame seeds and other flavors like ginger and orange. It pairs perfectly with aromatic yuzu zest, which, if you haven't tried that either, is slightly reminiscent of grapefruit but too wonderfully unique to compare to any more familiar citrus fruits. It adds a perfect twist to recipes that otherwise call for lemon zest and I find the two almost always interchangeable.

Papardelle-with-Poached-Egg-Yuzu-Shichimi-Togarashi-Set-the-Table.jpg
Parsley-Set-the-Table.jpg

Meals like this are what keep me sane during the holidays when I feel like I can barely put one foot in front of the other without forgetting something in the process. There is so much to do and plan for that mealtimes tend to fall by the wayside. With simple, delicious options like this around, there's no reason to opt for fast food cheeseburgers or greasy Chinese takeout.

Although, there are times for that as well.

And of course, if you've followed Set the Table for any amount of time, you may not be surprised at my addition of a poached egg. Because YUM.

Papardelle-with-Parsley-Yuzu-Shichimi-Togarashi-Set-the-Table.jpg

Papardelle with Parsley, Yuzu & Shichimi Togarashi

Makes 2 servings

  • 2 eggs, room temperature
  • 1 tablespoon white vinegar
  • 6 oz fresh Papardelle (or other egg pasta)
  • 2 teaspoons unsalted butter
  • course salt
  • black pepper
  • 1/2 teaspoon shichimi togarashi
  • 1 teaspoon yuzu zest
  • 1/3 cup chopped flat leaf parsley

Begin by making the eggs. Bring 2 inches of water to a simmer in a small pan. Add the vinegar. Crack the eggs into a small bowl. Use a spatula to create a gentle whirlpool in the water and pour the eggs, one at a time, into the center.

Reduce the heat so only a couple of small bubbles rise to the surface. Cover the pan and let the eggs cook for about 3-5 minutes, depending on how done you like your yolks. Remove fromt he pan with a slotted spoon and transfer to a small dish. Set aside.

Bring a large pot of water to a boil. Season generously with salt. Add the pasta and cook until al dente.

Reserve 1/4 cup pasta water. Drain the pasta and return to the pot off the heat source. Add the butter and toss with the pasta until completely melted. Season lightly with salt and pepper.

Add the shichimi, yuzu zest and flat leaf parsley and toss to combine. If at any point the pasta seems dry, add a bit of the reserved pasta water. Transfer the pasta to two bowls, top with the poached eggs and serve immediately.

In Lunch & Dinner Tags easy dinner recipes, easy lunch recipe, fast recipes, Pasta, shichimi togarashi, yuzu
Comment
Cinnamon-Rubbed-Roasted-Turkey-Breast-Set-the-Table.jpg

Cinnamon Rubbed Roasted Turkey Breast

Rachael White November 25, 2014

This has been one of those months that has been fast and slow at the same time. I feel a little bit like November has been here forever but when I write down the date I'm not sure how it got away from me so quickly. The leaves on our trees here are almost completely gone and we have gotten used to the annoying clanging of our old furnace, like we do every year, as it revs up, runs for a while and then turns off with a loud bang in our tiny house. Some of our neighbors have begun hanging their Christmas lights already. This is something I'm not used to seeing before Thanksgiving, but the holiday is so late in the month this year that I guess people just couldn't wait. That's OK with me since this time of year gets so brown and dull around Denver. The mountains are gorgeous, of course, but we need all the help we can get down here to make things look festive. I may not have all my holiday decorations hanging, but at least my house smells like the season. After making this cinnamon rubbed roasted turkey breast, it really felt like the holiday season around here.

Cinnamon-Rubbed-Turkey-Breast-Set-the-Table.jpg

I've never been in charge of making the turkey for Thanksgiving. My dad took care of that as a kid and my husband typically tackles that challenge for us now. But this year, since we are spending the holiday as just our family of three in Crested Butte, I decided it was time to at least try my hand at roasting a turkey breast.

Here's the truth: it's easy. So very, very easy.

Cinnamon-Rubbed-Roasted-Turkey-Breast-Set-the-Table1.jpg

I took inspiration from one of my favorite Greek dishes, chicken stewed in cinnamon, garlic and white wine, for this cinnamon rub. I love how the cinnamon adds a touch of unique flavor without compromising the flavor of the turkey itself. Plus, it makes the house smell incredible. There's a little mingling of dessert-type of scents from the cinnamon with the savory smell of that crispy turkey skin everyone runs to taste before the turkey makes it to the dinner table.

Cinnamon-Roasted-Turkey-Breast-Set-the-Table.jpg

After reading several recipes, I also learned that putting some water in the bottom of the roasting pan not only prevents smoking during cooking, it also helps keep a good amount of moisture in the meat. And one last, very important tip that we follow with a whole turkey as well as with this turkey breast recipe: start cooking the bird at a very high temperature for about 10-15 minutes before reducing the heat and letting the bird roast. This helps crisp the skin in the beginning without burning it later on.

So, what are you all doing with your turkeys for Thanksgiving this year? If you're cooking an entire bird, you can still use this cinnamon rub- just triple my recipe to make sure you can cover the whole thing.

Happy Thanksgiving, my friends! I'm so thankful for those of you that come back here time and time again to read my ramblings, make my food, and support me in this crazy food blogging life. Love and blessings to you all!

Cinnamon Rubbed Roasted Turkey Breast

Makes 6 servings

prep time: 10 minutes

cooking time: 45-55 minutes

total time: 55-65 minutes

  • One 3-4 pound turkey breast
  • 1 tablespoon canola oil
  • 2 teaspoons cinnamon
  • 1 1/2 teaspoons kosher salt
  • 1 teaspoon black pepper

Preheat the oven to 450 degrees Fahrenheit.

Pat the turkey breast dry with paper towels and spray a roasting pan with non-stick cooking spray. Pour 1 cup of water into the roasting pan.

Rub the turkey with the canola oil. Combine the cinnamon, kosher salt and black pepper in a small bowl. Rub the spice mixture all over the skin side of the turkey breast and place, skin side up, in the roasting pan.

Roast the turkey for 10 minutes and reduce the heat to 350 degrees Fahrenheit. Roast for 45-55 minutes (longer for a heavier turkey breast) until the thickest part of the meat registers at 155 degrees Fahrenheit. Transfer the turkey to a cutting board and let rest for 15 minutes. Carve and serve!

In Entertaining, Lunch & Dinner, No Added Sugar Tags Thanksgiving, Thanksgiving Dinner, Thanksgiving recipe, Thanksgiving turkey
Comment
Shrimp-Spinach-Spaghetti-Set-the-Table.jpg

Citrusy Shrimp & Spinach Spaghetti

Rachael White September 3, 2014

Being pregnant for a second time has me thinking a lot about the different stages I've gone through with my son. The first weeks and months were so difficult that I actually didn't think I could do it. He cried from 3pm to 3am every day for a month. His naps didn't last any more than 15 minutes at a time and happened once or twice during the day. I honestly felt like there was nothing I would ever be able to do to make him happy. Some call it colic, some say it's indigestion, and I still don't know exactly why that phase was so hard. In hindsight, I know there were things I needed to do to take care of myself. Eating enough was number one. Yes, the baby was crying and I wanted to crawl in a hole just to get some sound sleep, but taking 20 minutes to make a decent meal for myself was not going to change any of that. What those 20 precious minutes would do is help me have muster the strength to make it, with at least an ounce of grace, through a very trying time.

citrusy-shrimp-and-spinach-spaghetti-Set-the-Table.jpg

Yes, that was a hard time. But we have a healthy little boy who makes those first months totally worth it each and every day. He sleeps like a dream (worth more than gold if you ask me), gives the best hugs and kisses, loves bugs and "creatures" he finds in the backyard, and talks without stopping during every waking moment, leaving me with memories at the end of the day of the hilarious, and sometimes quite insightful things, I was blessed to have him share with me.

Shrimp-Citrus-Oil-Set-the-Table.jpg

Because I know what we could be facing with another little one on the way, the good and the difficult, I have been working on an arsenal of meals that are largely hands off and come together quickly. This citrusy shrimp & spinach spaghetti is the perfect 20 minute meal that is comforting, healthy, and so easy to toss together. In addition to all of that, it is versatile. Substitute spinach with chard or kale. Use whole wheat or brown rice spaghetti. Add shredded rotisserie chicken instead of shrimp. The possibilities are endless!

And a bonus at our house: this one is picky-toddler approved!

Citrusy-Shrimp-Spinach-Spaghetti-Recipe-Set-the-Table.jpg

We are now at the half-way point of this pregnancy and I'm starting to feel all of the feels there are to feel about having a new baby. With how much we love Riley, it's hard to imagine how it will feel to have two littles to love. Heart explosions will for sure be happening on the regular around here!

HELP: In my quest for easy meals, I'd love to hear what your favorites are! Links are welcome in the comments below!

Citrusy Shrimp & Spinach Spaghetti

Serves 4

Total time: 20 minutes

Ingredients

  • 1 lb spaghetti
  • 2 tablespoons fresh squeezed orange juice
  • 1 tablespoon fresh squeezed lemon juice
  • 1/4 cup olive oil
  • 1 lb peeled and deveined shrimp
  • 4 cups baby spinach
  • salt & freshly ground black pepper
  • grated parmesan cheese

Instructions

  1. Preheat the oven to 450 degrees Fahrenheit.
  2. Bring a large pot of salted water to a boil. Add the spaghetti and cook until al dente, 8-10 minutes. Before draining, reserve 1 cup of pasta water and set aside.
  3. Meanwhile, combine the orange juice, lemon juice and olive oil in a jar with a tight fitting lid and shake to combine.
  4. Put the shrimp in a large bowl and toss with half the olive oil mixture. Spread the shrimp on a baking sheet lined with foil and roast for 6 minutes or until pink and just cooked through.
  5. In a large bowl, toss the spaghetti with the shrimp and the remaining citrus oil. Add the spinach and season with salt and pepper.
  6. Scoop into serving bowls and sprinkle with grated parmesan cheese.
In Kid Friendly, Lunch & Dinner Tags 20 minute meals, easy dinner recipes, easy weeknight meals, Pasta, shrimp
4 Comments

Peach and Burrata Salad with Balsamic Reduction

Rachael White August 28, 2014

Yep. I'm just gonna put that juicy peach photo right in your face this morning. Because who doesn't want to see a Peach and Burrata Salad up close and personal?

My 18 lb box of peaches has dwindled to less than half of what I started with. It's a sad state of affairs, knowing this sweetness will be gone soon. Fortunately, I learned from last year's mistake and we have avoided being bombarded with fruit flies (is there anything more annoying?) by making sure we had plenty of room for the peaches in the fridge. Once they hit their perfect stage of ripeness, I piled them all in the fruit drawer and have been taking 1 (make that 2) our each and every day to enjoy. My final task is to make a couple jars of my peach and hatch chile salsaand my Grandma Della's Peach Cobbler. If I'm lucky, I may make one more batch of these Peach & Oat Muffins from last week.

Fresh-Peach-Spinach-Salad-with-Burrata-Set-the-Table.jpg

I spend a lot of time comparing my transition to life in Colorado to the first couple of years we spent in Japan. I LOVED living in Japan but not until the last 2, maybe 2 1/2 years. It was so strange and different and I didn't know what I was doing for those first couple of years that I just couldn't come around to it. However, once I figured out the rhythms of each season and had an idea what to expect, I was able to fall in love. I feel like I may be turning that corner here in Colorado, at long last. The current weather pattern, cool, crisp mornings, warm afternoons, and chilly nights, has won me over after weeks of weather that is too hot for my taste. Understanding that this refreshing time of year comes just after peach season is the kind of stuff I like to know about where I live. It's a strange quirk, perhaps, but at least I am aware of it. That makes change a little easier to deal with.

Peach-Burrata-Salad-with-Pecans-Set-the-Table.jpg

Speaking of change... Baby #2 is growing! I feel like I'm hungry every 30 minutes so I've been trying to fit in a lot of small, healthy snacks throughout the day. One of my favorites is a sliced peach, Greek yogurt, and a little sprinkle of muesli. Or a spoonful of natural peanut butter. Mmmmmmyes.

10624988_870958615383_2569301713981177036_n.jpg

Well, I'm off to enjoy a lovely, cool morning outside with this guy. He makes my heart happy in so many ways. And he loves peaches just as much (maybe even more) than I do!

10600460_869795566143_3049925383690205712_n.jpg

What are your favorite things about this time of year? This end-of-summer-beginning-of-fall time can be so lovely, don't you think?

Ponder that while you enjoy this easy, delicious, and healthy salad!

Peach and Burrata Salad with Balsamic Reduction

Serves 2

Total time: 15 minutes

Ingredients

  • 1/3 cup balsamic vinegar
  • 2 cups baby spinach leaves
  • 1 peach, sliced
  • 1/3 cup toasted pecan halves
  • 3 oz burrata cheese
  • 2 tablespoons olive oil
  • sea salt
  • black pepper

Instructions

  1. Begin by making the balsamic reduction by putting the vinegar in a small saucepan over medium heat. Bring to a simmer and reduce by half. Remove from the heat and allow to cool.
  2. Meanwhile, pile the spinach leaves on two plates and top with the peach slices, the pecans, and the cheese.
  3. Drizzle with some of the balsamic reduction and the olive oil.
  4. Sprinkle with salt and pepper to taste and serve.
In Lunch & Dinner, No Added Sugar, Vegetarian Tags Colorado peaches, healthy summer salad, salad, summer fruit recipe, vegetarian recipe
1 Comment
Lighter-Corn-Chowder-with-Hatch-Chiles-Set-the-Table.jpg

Healthy Slow-Cooker Corn Chowder with Hatch Chiles

Rachael White August 21, 2014

When we lived in Japan, there was something we called a "vegetable vending machine" just down the street from our apartment. It was made up of little cubbies that were always filled with vegetables that had been grown on the very same block. You had to take you yen- usually 50¥ or 100¥- and place it in the money slot on the door holding the produce you wanted. Once you paid, the door would unlock and you could take your reusable bag, plop the freshly picked vegetables in, and be on your merry way. I used to go see what was there, enjoying the short walk in our peaceful neighborhood, pondering what I would make for dinner that night. We don't have "veggie vending machines" here in Denver, but we are lucky enough to live just down the street from a couple markets that source local, Colorado-grown produce. The other day, I went to my favorite market with my mom to pick up some Hatch chiles and came across some beautiful ears of corn. The kernels were bright yellow, plump, and just begging to be added to a chowder recipe. So, slow-cooker corn chowder with hatch chiles was born! We may not have been able to experience the Japanese vending machine, but at least it conjures the memory.

Maybe I should start my own vegetable vending machine.

Maybe not.

Slow-Cooker-Corn-Hatch-Chile-Chowder-Set-the-Table.jpg

My slow-cooker has been a doing a lot of work lately so that I can have dinner on the table when my work day is done without adding extra dishes or too much time to my schedule. It was kind of amazing having the kitchen completely cleaned just as the soup finished cooking. This would be a perfect back-to-school recipe for those busy nights when you want something comforting but healthy for your family!

Light-Corn-Chowder-with-Hatch-Chiles-Set-the-Table.jpg

So...maybe it was the thoughts of Japan that took made me do this...but I used Japanese dashi in place of vegetable or chicken stock in this recipe. Dashi, the base for well-known miso soup, is made with smokey, dried fish flakes called katsuobushi. They have a smokey flavor that is reminiscent of bacon. And what is a common ingredient in chowder? BACON. So, I used dashi to not only add a lighter flavor but to cut out some of the fat bacon would add to the recipe. It was BRILLIANT. Of course, if you don't want to make dashi, or don't have the time, that's totally fine. I've given some suggestions in the notes below for alternatives. If you can take the 20 or so minutes it takes to make dashi, give it a try! Here's the recipe that I use:

Japanese Dashi Stock

Makes 4 cups

Ingredients

  • 4 1/2 cups water
  • 1 4 inch square piece of kombu
  • 1 loosely packed cup katsuobushi

Instructions

  1. Place the water in a 2 quart saucepan along with the kombu. Place the saucepan over a medium flame and heat until small bubbles just begin to rise to the surface.
  2. Remove the kombu and discard. Bring the water to a boil, scatter the katsuobushi over the water, and allow the flakes to simmer in the water for 2 or 3 minutes. Turn off the heat and allow some of the flakes to fall to the bottom of the pan (this should take about 2 minutes).
  3. Pour the liquid through a fine mesh strainer. Store in an airtight jar in the refrigerator for about 5 days or use immediately.

Notes

Dashi keeps for about a week in the refrigerator and can be used to flavor soups, sauces, and more. Think outside the box of Japanese recipes and see how you can use it in your everyday cooking!

And now, here is the recipe for my slow-cooker corn chowder with hatch chiles.

PS: If you can't find hatch chiles, you can use pablanos or another mildly spicy green chile. Just be sure to remove the seeds!

Healthy Slow-Cooker Corn Chowder with Hatch Chiles

Serves 6-8

Total time: 5 hours 10 minutes

Ingredients

  • 1 teaspoon olive oil
  • 1 yellow onion, diced
  • 2 large carrots, diced
  • 1 celery stalk, diced
  • 3 or 4 large hatch chiles, roasted, skin and seeds removed, diced
  • 1 lb red potatoes, scrubbed and cut into cubes
  • 4 cups dashi stock (vegetable or chicken stock are fine too...see note)
  • 2 cups fresh corn kernels from about 3-4 ears of corn
  • 1 1/2 cups low-fat buttermilk
  • 1/4 cup flour
  • 4 scallions, sliced
  • 1 teaspoon seasoned salt, plus more to taste

Instructions

  1. Heat the olive oil in a large, non-stick skillet over medium-high heat.
  2. Add the onion, carrots, celery, and hatch chiles to the pan and cook until the vegetables are just softened, about 4 or 5 minutes.
  3. Transfer the vegetable mixture to a 6 quart slow-cooker.
  4. Add the potatoes to the slow-cooker, along with the dashi. Cook on high heat for 4 hours or on high for 8 hours.
  5. Add the corn kernels to the pot and cook an additional 30 minutes.
  6. Whisk the buttermilk with the flour until very smooth and add to the soup. Allow to cook for 5-10 minutes until thickened slightly and heated through.
  7. Stir the scallions into the soup, season with seasoned salt, and serve immediately.

Notes

You can use vegetable stock or chicken stock instead of dashi, but you'll want to add at least one slice of smokey bacon when you cook the veggies to get that smokiness. For a little more flavor, you can also add shredded sharp cheddar cheese just before serving.

In Kid Friendly, Lunch & Dinner, No Added Sugar Tags Back-to-School recipes, healthy recipes, slow-cooker recipes, Soup, Summer Recipes, sweet corn
4 Comments
← NewerOlder →

Search Posts


Featured Posts

Summary Block
This is example content. Double-click here and select a page to feature its content. Learn more
Featured
Jan 29, 2026
Cursus Amet
Jan 29, 2026
Jan 29, 2026
Jan 22, 2026
Pellentesque Risus Ridiculus
Jan 22, 2026
Jan 22, 2026
Jan 15, 2026
Porta
Jan 15, 2026
Jan 15, 2026
Jan 8, 2026
Etiam Ultricies
Jan 8, 2026
Jan 8, 2026
Jan 1, 2026
Vulputate Commodo Ligula
Jan 1, 2026
Jan 1, 2026
Dec 25, 2025
Elit Condimentum
Dec 25, 2025
Dec 25, 2025
Dec 18, 2025
Aenean eu leo Quam
Dec 18, 2025
Dec 18, 2025
Dec 11, 2025
Cursus Amet
Dec 11, 2025
Dec 11, 2025
Dec 4, 2025
Pellentesque Risus Ridiculus
Dec 4, 2025
Dec 4, 2025
Nov 27, 2025
Porta
Nov 27, 2025
Nov 27, 2025

Powered by Squarespace