When we lived in Japan, there was something we called a "vegetable vending machine" just down the street from our apartment. It was made up of little cubbies that were always filled with vegetables that had been grown on the very same block. You had to take you yen- usually 50¥ or 100¥- and place it in the money slot on the door holding the produce you wanted. Once you paid, the door would unlock and you could take your reusable bag, plop the freshly picked vegetables in, and be on your merry way. I used to go see what was there, enjoying the short walk in our peaceful neighborhood, pondering what I would make for dinner that night. We don't have "veggie vending machines" here in Denver, but we are lucky enough to live just down the street from a couple markets that source local, Colorado-grown produce. The other day, I went to my favorite market with my mom to pick up some Hatch chiles and came across some beautiful ears of corn. The kernels were bright yellow, plump, and just begging to be added to a chowder recipe. So, slow-cooker corn chowder with hatch chiles was born! We may not have been able to experience the Japanese vending machine, but at least it conjures the memory.
Maybe I should start my own vegetable vending machine.
Maybe not.

My slow-cooker has been a doing a lot of work lately so that I can have dinner on the table when my work day is done without adding extra dishes or too much time to my schedule. It was kind of amazing having the kitchen completely cleaned just as the soup finished cooking. This would be a perfect back-to-school recipe for those busy nights when you want something comforting but healthy for your family!

So...maybe it was the thoughts of Japan that took made me do this...but I used Japanese dashi in place of vegetable or chicken stock in this recipe. Dashi, the base for well-known miso soup, is made with smokey, dried fish flakes called katsuobushi. They have a smokey flavor that is reminiscent of bacon. And what is a common ingredient in chowder? BACON. So, I used dashi to not only add a lighter flavor but to cut out some of the fat bacon would add to the recipe. It was BRILLIANT. Of course, if you don't want to make dashi, or don't have the time, that's totally fine. I've given some suggestions in the notes below for alternatives. If you can take the 20 or so minutes it takes to make dashi, give it a try! Here's the recipe that I use:
Japanese Dashi Stock
Makes 4 cups
Ingredients
- 4 1/2 cups water
- 1 4 inch square piece of kombu
- 1 loosely packed cup katsuobushi
Instructions
- Place the water in a 2 quart saucepan along with the kombu. Place the saucepan over a medium flame and heat until small bubbles just begin to rise to the surface.
- Remove the kombu and discard. Bring the water to a boil, scatter the katsuobushi over the water, and allow the flakes to simmer in the water for 2 or 3 minutes. Turn off the heat and allow some of the flakes to fall to the bottom of the pan (this should take about 2 minutes).
- Pour the liquid through a fine mesh strainer. Store in an airtight jar in the refrigerator for about 5 days or use immediately.
Notes
Dashi keeps for about a week in the refrigerator and can be used to flavor soups, sauces, and more. Think outside the box of Japanese recipes and see how you can use it in your everyday cooking!
And now, here is the recipe for my slow-cooker corn chowder with hatch chiles.
PS: If you can't find hatch chiles, you can use pablanos or another mildly spicy green chile. Just be sure to remove the seeds!
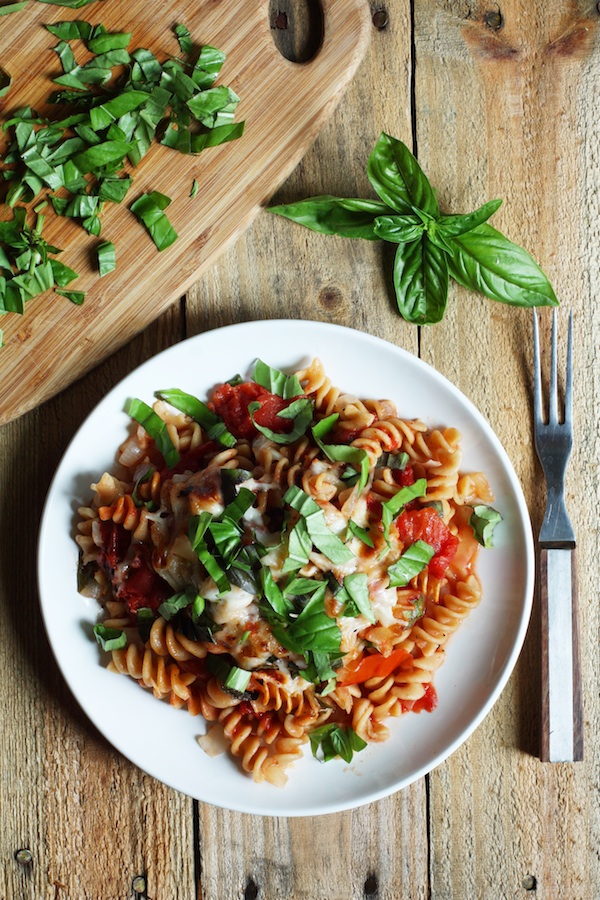
Healthy Slow-Cooker Corn Chowder with Hatch Chiles
Serves 6-8
Total time: 5 hours 10 minutes
Ingredients
- 1 teaspoon olive oil
- 1 yellow onion, diced
- 2 large carrots, diced
- 1 celery stalk, diced
- 3 or 4 large hatch chiles, roasted, skin and seeds removed, diced
- 1 lb red potatoes, scrubbed and cut into cubes
- 4 cups dashi stock (vegetable or chicken stock are fine too...see note)
- 2 cups fresh corn kernels from about 3-4 ears of corn
- 1 1/2 cups low-fat buttermilk
- 1/4 cup flour
- 4 scallions, sliced
- 1 teaspoon seasoned salt, plus more to taste
Instructions
- Heat the olive oil in a large, non-stick skillet over medium-high heat.
- Add the onion, carrots, celery, and hatch chiles to the pan and cook until the vegetables are just softened, about 4 or 5 minutes.
- Transfer the vegetable mixture to a 6 quart slow-cooker.
- Add the potatoes to the slow-cooker, along with the dashi. Cook on high heat for 4 hours or on high for 8 hours.
- Add the corn kernels to the pot and cook an additional 30 minutes.
- Whisk the buttermilk with the flour until very smooth and add to the soup. Allow to cook for 5-10 minutes until thickened slightly and heated through.
- Stir the scallions into the soup, season with seasoned salt, and serve immediately.
Notes
You can use vegetable stock or chicken stock instead of dashi, but you'll want to add at least one slice of smokey bacon when you cook the veggies to get that smokiness. For a little more flavor, you can also add shredded sharp cheddar cheese just before serving.