Quantcast
  • Contact
  • Portfolio
  • Subscribe
  • Recipes
Menu

Set the Table Photography

photography
  • Contact
  • Portfolio
  • Subscribe
  • Recipes
×
I’ve partnered with Alessi to bring you a recipe that is made with ingredients you can keep on hand for those impromptu date nights when leftovers just won’t cut it. I mean, we all like a good leftover boxed mac and cheese (don’t lie- you love it wh…

I’ve partnered with Alessi to bring you a recipe that is made with ingredients you can keep on hand for those impromptu date nights when leftovers just won’t cut it. I mean, we all like a good leftover boxed mac and cheese (don’t lie- you love it when your kids don’t finish it all) but putting a meal on the table that is satisfying, beautiful, and fast is pretty essential to a successful date night in.

Date Night Gnocchi with Red Pepper & Sun Dried Tomato Pesto

Rachael White March 24, 2019

I’ve been married to Brad for nearly 12 years. We fell hard and fast for one another during my senior year of college and somehow I never worried whether or not we would make it. Still, after all this time, I don’t doubt that I get to spend my life with him. He makes me laugh, holds me when I need to cry, and makes me feel like the best thing since sliced bread. It is not lost on me that marriage takes work. Every day we have to put effort into our relationship in small and big ways, but that feeling that the love you feel is 100% reciprocated is amazing. 

Date Night Gnocchi with Red Pepper & Sun Dried Tomato Pesto | Set the Table #AlessiWay http://bit.ly/AlessiSpring19

I’ve gotten into the habit of finding meals that feel fancy but use ingredients I can keep around for impromptu evenings when we have the time and energy to stay up after the kids go to bed for a little romantic dinner and an episode (or 2) of Game of Thrones. Yep, we are super exciting. We may not always have the room in our budget or our schedule to go out for a nice meal, but honestly, I love making delicious food at home just as much as going to a restaurant. Plus, if we stay in, we can afford a nice bottle of wine to go along with our meal, which makes date night feel extra special.  

Date Night Gnocchi with Red Pepper & Sun Dried Tomato Pesto | Set the Table

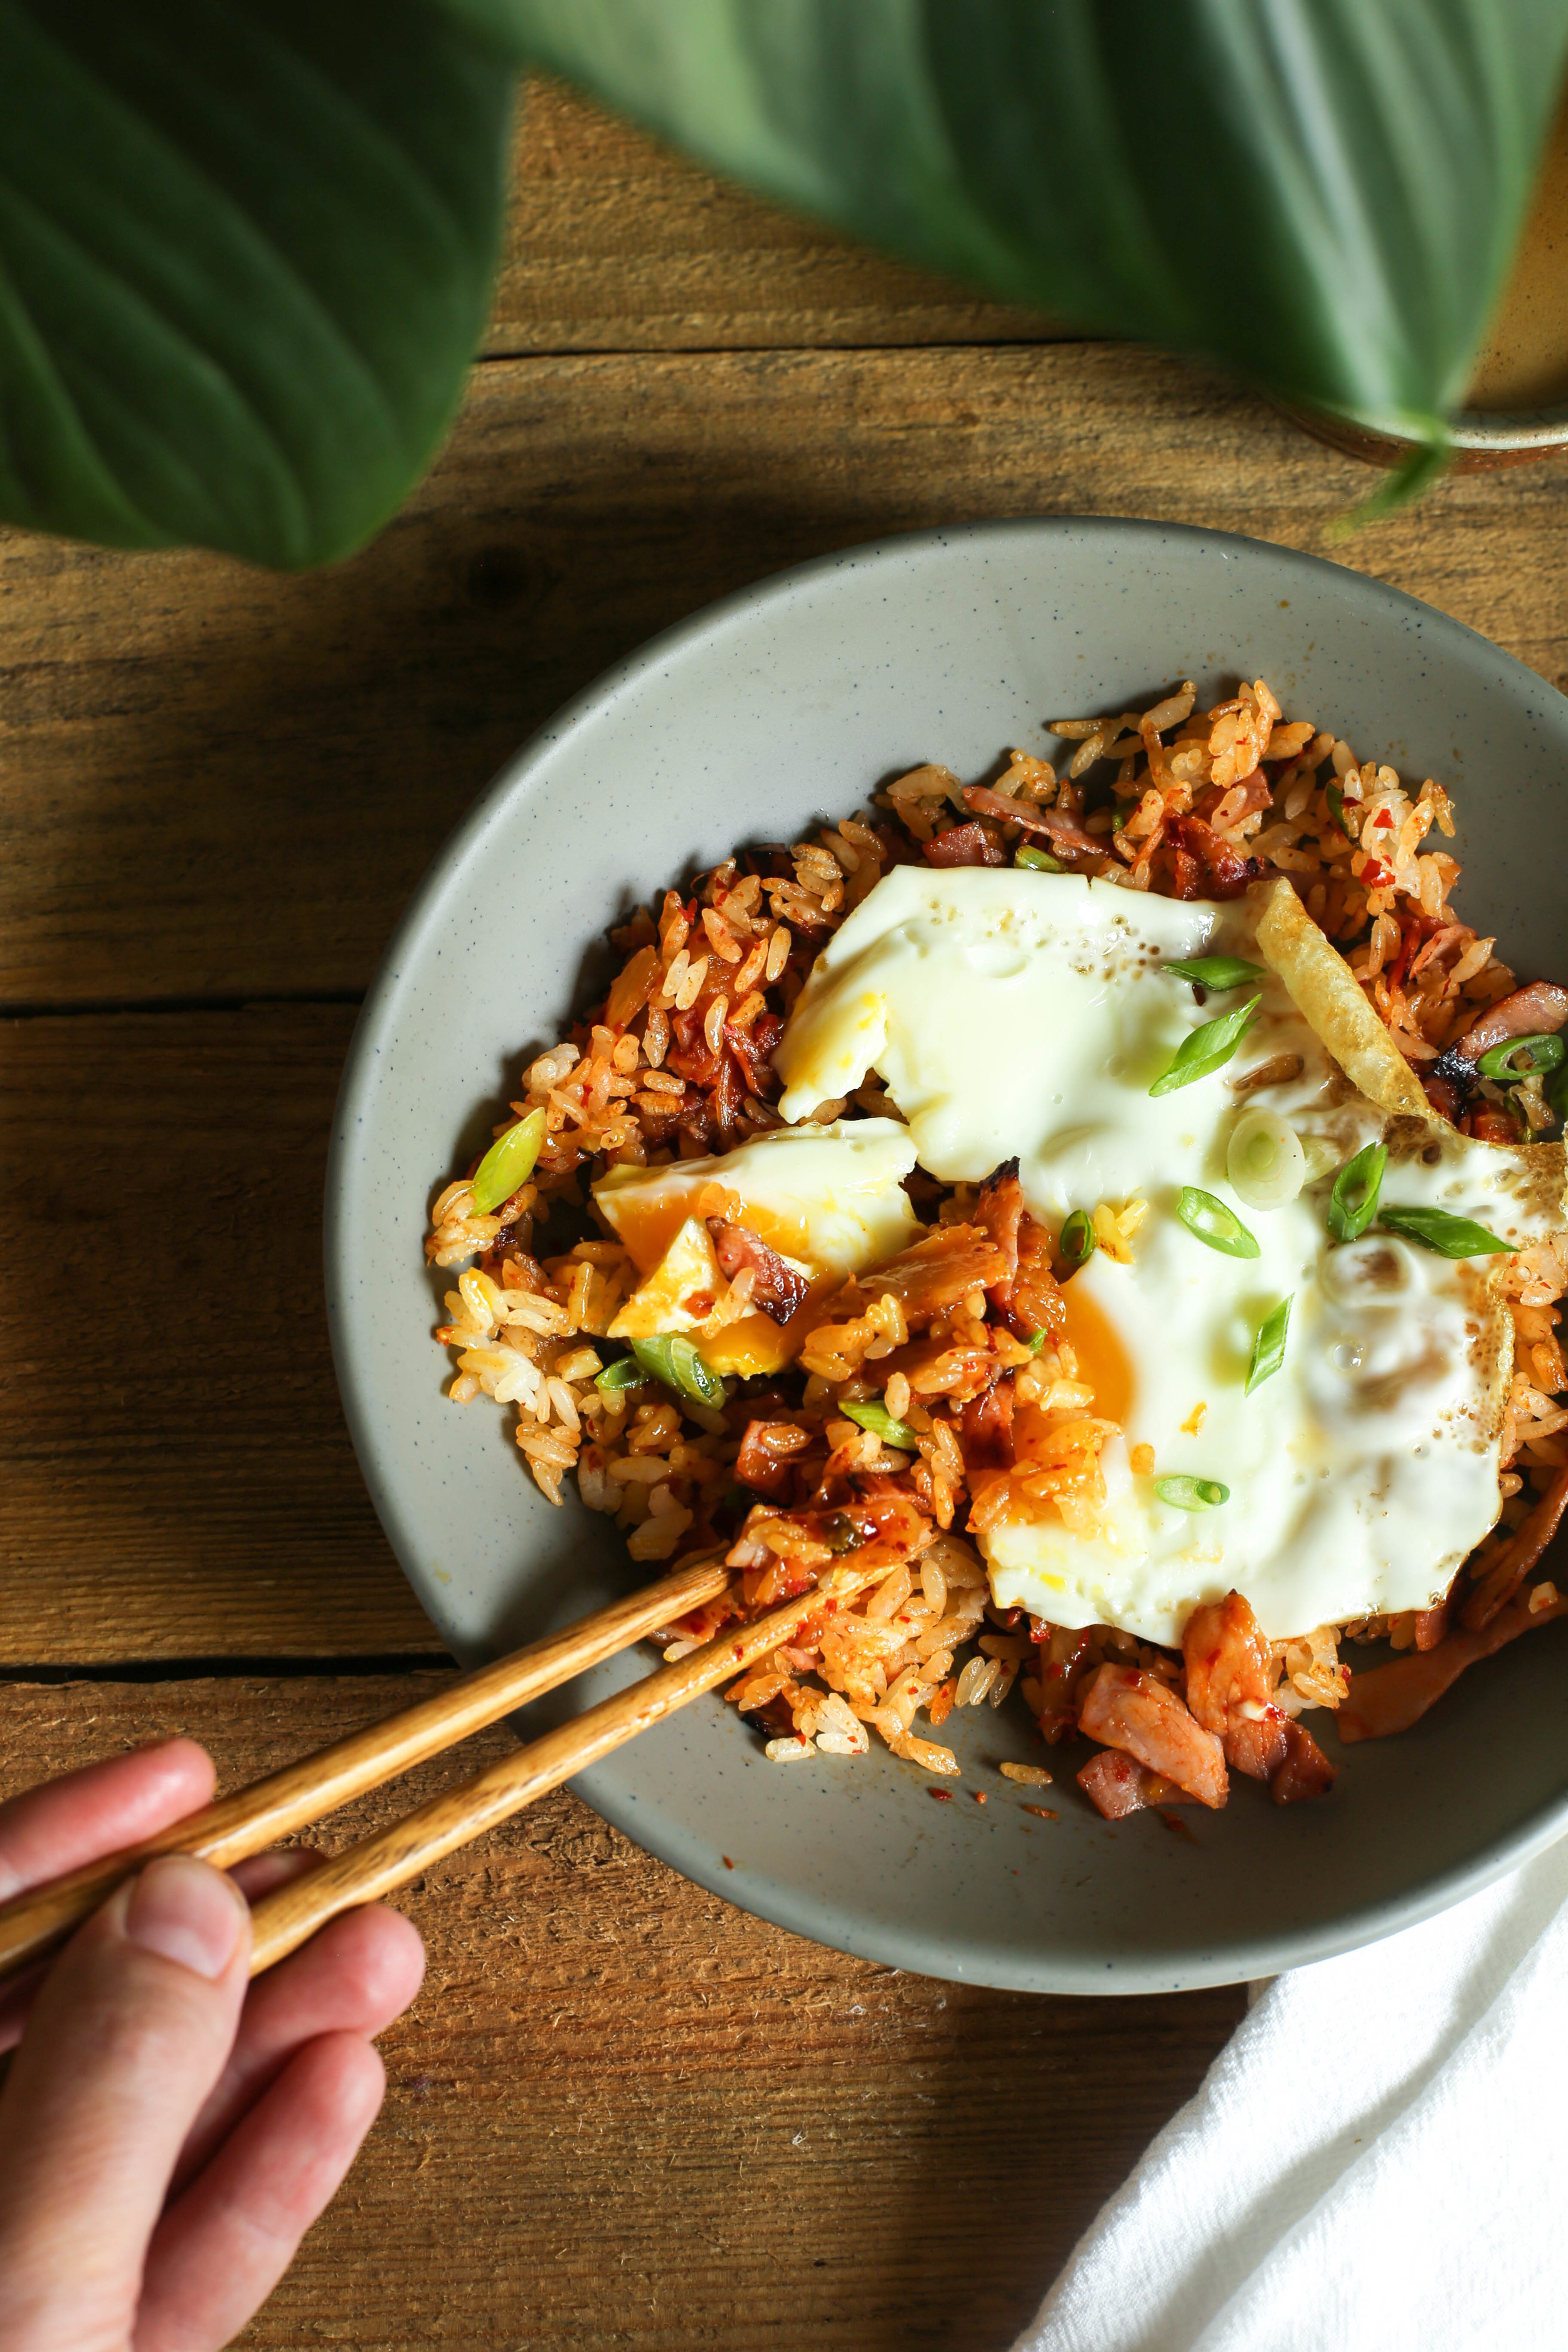
This gnocchi with red pepper and sun dried tomato pesto is my new favorite for date night in. It is full of flavor, made with quality Italian ingredients that are easy to keep on hand in the pantry, and helloooooo is it pretty or what? I love to order the ingredients for this dish online and can typically snag enough to keep on hand for 3 date nights totaling just under $50. That’s about $16/date night! Plus, orders over $20 ship free so now you have no excuses. Not into ordering? Alessi products are found at most grocery stores. Cheers to that! 

Date Night Gnocchi with Red Pepper & Sun Dried Tomato Pesto | Set the Table #AlessiWay http://bit.ly/AlessiSpring19
Gnocchi with Red Pepper & Sun Dried Tomato Pesto | Set the Table #gnocchi #recipe #pesto #alessifoods #datenightin

Date Night Gnocchi with Red Pepper & Sun Dried Tomato Pesto

Makes 2 Servings

  • 1 package Alessi Foods gnocchi

  • 1 large Alessi Foods roasted red pepper 

  • 1/4 cup Alessi Foods Sun Dried Tomatoes (packed in oil)

  • 2 tablespoons Alessi Foods pine nuts (lightly toasted) 

  • 1/2 teaspoon freshly ground Alessi Foods mixed peppercorns

  • Salt to taste

  • 1 teaspoon honey

  • Alessi Foods Balsamic Reduction (for finishing)

  • 3 tablespoons Alessi Foods Extra Virgin Olive Oil

  • 2 large eggs

  1. Bring a large pot of salted water to a boil. Add the gnocchi and cook until they float to the surface. Drain well and set aside. 

  2. In a food processor or blender, combine the red pepper, sun dried tomatoes, pine nuts, salt and pepper, and honey. Pulse until roughly blended, not completely smooth. The slight crunch from the pine nuts is essential! Taste and adjust seasoning as needed. 

  3. In a small pan, heat 1 tablespoon of olive oil over medium heat. Crack the eggs into the pan and fry until the edges of the egg are crispy and the whites are cooked through. Set aside. 

  4. In a large pan, heat 2 tablespoons of the olive oil over medium-high heat. Add the gnocchi in a single layer, being careful not to crowd the pan, and sauté until golden brown on both sides. Sprinkle with a bit of salt and divide between two bowls. Top with a generous spoonful of the pesto, followed by the fried egg, a couple grinds of pepper and a drizzle of the balsamic reduction. Enjoy! 

In Lunch & Dinner, Products I Love, Vegetarian Tags date night in, easy weeknight meals, pasta, Eggs, pesto
1 Comment
savor-oatmeal-miso-butter.jpg

Savory Oatmeal with Miso Butter

Rachael White November 5, 2015

Savory Oatmeal with miso butter and a perfect fried egg will turn your breakfast world upside down!

Read More
In Breakfast & Brunch Tags oatmeal, healthy breakfast recipe, miso, Eggs
7 Comments

Breakfast Kimchi Fried Rice

Rachael White September 28, 2015

This past weekend, we had a little adventure. We spent a magical day in the mountains enjoying the stunning colors, fresh air, and some peace and quiet. Well, as much peace and quiet as possible with a 3 year old and an 8 month old in tow. Down near Denver, it was a miserable 90-ish degrees, which made me even more thankful to be in the cooler mountain air. Somehow, this state is missing the memo that fall has begun. Here's hoping things change soon, because this cold-weather-lover is READY!

Until the weather decides to concede and let go of summer, at least we know there is an escape merely an hour and a half away from our house. Caribou Ranch Open Space was the perfect spot to take an easy hike with the kiddos after browsing around the Boulder Farmer's Market and driving through the tiny town of Nederland. The whole experience made me realize we don't do nearly enough adventuring. When we lived in Japan, we were on a constant high because everything felt new. It's been a struggle reclaiming that feeling since returning to the U.S. but this little excursion was a step in the right direction.

By Sunday night, we were all exhausted and in need of some comfort food so I fired up the rice cooker and took out some Japanese curry from the freezer. It was a simple meal and, just like we did in Japan, we made extra rice. We rarely know what it will be used for, but it always turns into something delicious. This time around, the leftover rice became my breakfast in the form of Breakfast Kimchi Fried Rice. I'm calling it 'breakfast' because I added bacon and topped it with a fried egg, but in reality it can be used at any and all meals.

There are few things in life that can't be made better by fresh air, gorgeous views, and a bowl full of rice. This morning, as I made this for breakfast, I thought about how wonderful it was watching Riley run on the mountain trails, pretending to be the Lorax, while Braden gazed at bright yellow aspen leaves against the bright blue sky. As I fried my egg in sesame oil, I remembered walking through our neighborhood in Japan at dinner time, smelling that exact nutty scent from the streets. As the bacon sizzled in the pan, I recalled the woody, sweet smell of the sap from the Ponderosa pines. And as I took the first, spicy bite of the Kimchi fried rice, I realized how much I rely on food to bring me to all of my favorite places. That simple bowl was not only helping me begin my day with a full stomach, it was helping me bring those little pieces of my past back into focus alongside my present. .

Breakfast Kimchi Fried Rice

Makes 1 serving

  • 2 teaspoons toasted sesame oil
  • 1 egg
  • 1 slice of applewood smoked bacon, chopped
  • 1/2 cup cooked white rice, preferably day-old and cold
  • 2 tablespoons chopped kimchi
  • 1 small scallion, sliced diagonally
  1. Heat the sesame oil over medium heat in a large skillet.
  2. Add the egg and fry until the edges begin to crisp and turn golden. Cover the skillet and reduce the heat to low. Continue to cook the egg until the white is set and the yolk is still runny. Place the egg on a paper towel-lined plate and set aside.
  3. Return the heat under the skillet to medium and add the bacon. Cook until golden and crisp. Remove all but 1 teaspoon of oil/bacon fat from the pan.
  4. Increase the heat to medium-high, add the rice to the pan, sprinkle with a small pinch of salt, and cook, stirring occasionally, until the rice begins to crisp in places.
  5. Stir in the kimchi and half of the scallion and stir until heated through. Transfer to a shallow bowl or place, top with the egg and the remaining scallions and enjoy!
In Breakfast & Brunch Tags asian, breakfast, Eggs
4 Comments
Chive-Blossom-Cheddar-Scrambled-Eggs-Set-the-Table.jpg

Chive Blossom & Cheddar Scrambled Eggs

Rachael White May 29, 2014

My garden looks like an actual garden this year. Last year, thanks to my black lab who thought I must have left all those plants in there by accident and decided to...ahem...rearrange them...my garden looked disorganized and random. That experience made me feel like a bit of a gardening dummy. Fortunately, this year has gone more smoothly, everything is in nice, neat rows, and has remained in their intended places. At this moment, the most beautiful thing in my garden is the chive plant that came back from last year. It is a vibrant green with purple poof-ball flowers in a halo around the top. It killed me a little to cut those pretty blossoms, even if it was only a few. However, if you know me even a little, you know that I'd do anything for eggs. So in the end, it was all worth it for the Chive Blossom & Cheddar Scrambled Eggs.

Perfect-Scrambled-Eggs-Set-the-Table.jpg

I made these perfectly creamy, fluffy scrambled eggs this morning while the air outside was still somewhat cool and I had a 2 year-old batman running around in circles in the kitchen. I whisked the eggs with a touch of milk, which some purists may not appreciate, but I think it adds an extra bit of luxurious creaminess. A bit of melted butter in a pan over very low heat, some slow but constant stirring with a spatula, and some small cubes of cheddar resulted in the most perfect scrambled eggs. A sprinkling of chopped chives and their blossoms made this an ideal spring breakfast.

Have you used chive blossoms before? They have a delicate and sweet onion flavor that is even more mild than the chive itself. Chive blossoms are lovely sprinkled over soup, dips, and salads. What would you do with a bunch of these purple beauties?

Chive Blossom & Cheddar Scrambled Eggs

Serves 2

Ingredients

  • 1 tablespoon unsalted butter
  • 4 eggs
  • 2 tablespoons whole or 2% milk
  • 1/4 cup small-cubed cheddar cheese
  • 1/4 cup chopped chives
  • 3 or 4 chive blossoms, roughly chopped
  • salt & pepper to taste

Instructions

  1. Melt the butter in a small pan over low heat.
  2. Meanwhile, whisk the eggs with the milk in a small bowl until smooth.
  3. Pour the eggs into the pan along with the cubed cheddar and let sit for 30 seconds before pushing around in the pan with a spatula.
  4. After about 3 or 4 minutes, the eggs should be mostly cooked through but still slightly wet. Remove the pan from the heat, continue to gently move the eggs around in the pan, and add the chopped chives.
  5. Transfer the eggs to a plate and sprinkle with the chive blossoms and salt and pepper to taste, if desired.
  6. Serve immediately.
In Breakfast & Brunch Tags fast recipes, scrambled eggs, Eggs, spring recipes, easy recipes, chives
2 Comments
Miso-Deviled-Eggs-Platter-Set-the-Table.jpg

Miso Deviled Eggs

Rachael White April 13, 2014

How is it almost Easter already? I mean, seriously. Time needs to slow the train down. Despite the fact that this holiday often sneaks up on me, Easter has always been one of my favorite holidays when it comes to food. We are creatures of habit on my fathers side of the family and our spread always includes my grandma's deviled eggs, my aunt Joanne's sticky caramel rolls, my uncle Steve's Bloody Marys and, of course, lots of locally made sausage and a glazed ham.

Truth time: When I growing up in Minnesota, I think I stuffed my face the most at Easter. To an embarrassing degree.

Ok, glad I got that off my chest. I feel like we are closer now, you and I. Yes?

Miso-Deviled-Eggs-for-Brunch-Set-the-Table.jpg

One of the reasons I love cooking is because I get to take pieces of my life and bring them together when they might otherwise remain separate entities. Here, I've taken deviled eggs, which will forever and always make me think of my grandmother, and added ingredients that reflect our time spent in Japan. White miso paste, hot mustard, and shichimi togarashi come together in these eggs to create something new for your Easter brunch. A couple of these alongside my Japanese Bloody Mary would be absolute perfection.

Miso-Deviled-Eggs-Recipe-Set-the-Table.jpg

Another change I made to these eggs was using Greek yogurt in place of mayonnaise. I think Greek yogurt gives the yolk mixtures a lighter, fluffier consistency that is a welcome contrast to the bold flavor of miso and hot mustard. I used Tillamook Farmstyle Greek Yogurt, which is mellow and creamy and absolutely perfect in these deviled eggs.

The icing on the cake? Fresh chives cut directly from my garden. Glorious.

About Tillamook Farmstyle Greek Yogurt

·         Tillamook Farmstyle Greek Yogurt is made with no artificial flavors, no artificial colors, no artificial sweeteners, no high fructose corn syrup and with the highest quality milk from cows not treated with artificial growth hormones.

·         Tillamook Farmstyle Greek is a thick, creamy and less tart yogurt made with buttermilk cultures, while providing 14g of protein per serving.

·         To make their better tasting Greek distinctively ‘Farmstyle’, Tillamook slow churns farm fresh milk with seven active yogurt and buttermilk cultures.

·         Tillamook Farmstyle Greek Yogurt is made with fruits and nuts locally sourced from the Pacific Northwest

·         To find out where to buy Tillamook Farmstyle Greek Yogurt readers can use the handy ‘Where to Buy’ tool by clicking here.

*Full disclosure: Tillamook provided me with product to use in this and other posts. My opinions are 100% my own and this post contains no affiliate links. 

Miso Deviled Eggs

Ingredients

  • 1 dozen eggs, room temperature
  • 1 1/2 teaspoons hot mustard
  • 2 tablespoons white miso (shiro miso)
  • 2/3 cup 2% or full-fat plain Greek yogurt (I used Tillamook because of it's mild, creamy flavor)
  • 1/4 cup chopped chives or green onions
  • Shichimi togarashi or other fine red pepper flakes for garnish (you can also use paprika in a pinch)
  • salt & pepper to taste (optional)

Instructions

  1. Prepare an ice bath in a large bowl before you begin hard boiling the eggs.
  2. Gently set the eggs in the bottom of a large pot and fill with cold water until the eggs are covered by about one inch.
  3. Place the pot over medium heat and bring to a low boil.
  4. Turn off the heat, cover the pot, and let sit for 6 minutes.
  5. Remove the eggs from the pot with a slotted spoon and transfer to your prepared ice bath.
  6. When the eggs have cooled (after about 10 minutes) peel the eggs by first tapping them against the countertop. I like to crack around the equator of the egg and at each end.
  7. Using the side of your thumb, carefully peel away the egg and the thin membrane between the egg shell and the egg itself.
  8. After hard boiling the eggs and removing the shells, cut them in half and remove the yolk using a small spoon. Collect the yolks in a medium bowl and set the emptied whites on a large plate.
  9. In the bowl of a food processor, combine the yolks, mustard, yogurt, and miso paste and pulse until smooth. Stir in the chives.
  10. Using a teaspoon, fill each egg half with the yolk mixture. Garnish with a few additional chives and the shichimi togarashi.
  11. Arrange the eggs on a platter and serve chilled.
In Breakfast & Brunch, Cocktails and Appetizers Tags brunch recipes, Easter recipes, Eggs, miso, shichimi togarashi, spring recipes
3 Comments
Salmon-Donburi-Set-the-Table.jpg

Salmon Sashimi Rice Bowl

Rachael White March 3, 2014

This is a bit of a throwback recipe. I posted it for the first time over at Tokyo Terrace when we lived in Japan. At the time, this bowl-of-beautiful made an appearance at least once a week. With a glass of crisp white wine this was an ideal way to end a long, busy day when I just didn't want to cook anything at all. And really, how could you not enjoy salmon sashimi, a perfectly poached egg and creamy avocado over rice?

Exactly.

Salmon-Avocado-Egg-Rice-Bowl-Set-the-Table.jpg

We enjoyed this dish last week when my mom was visiting from Minnesota. For 10 days she helped me out by playing with Riley while I got some work done. She read endlessly, tossed a basketball countless times, braved the world of toddler crafts, and sang sweet lullabies. It was wonderful. When she stayed with us in Japan we made this rice bowl for her and she immediately fell in love. Since then, every time we are in the same kitchen, my mom requests this meal.

Sadly, salmon sashimi is not as easy to come by (or as affordable) as it was in Tokyo. Still, when we see a beautiful piece of fish this is usually how we enjoy it. Sometimes I'll make this exact recipe with broiled or pan seared salmon, which is delicious as well. Sprinkle the finished bowl with some nutty, salty furikake (want to make your own furikake? click here) and a drizzle of light soy sauce mixed with wasabi and there it is: perfection in a bowl.

Salmon-Avo-Egg-Donburi-Set-the-Table.jpg
Salmon-Rice-Bowl-Set-the-Table.jpg

I should ask: do you have a rice cooker yet? If you don't, you need one. Trust me. They are indispensable in my opinion. I'm not one to want frivolous appliances so I was wary of adding a rice cooker to our collection. In Japan, I realized very quickly that they get daily use in most homes. We may not use ours every day, but on average we break it out once a week. With the push of a button you can have perfectly cooked rice (white or brown) without having to do much of anything. And rice makes the perfect base for using leftovers. Got roasted veggies to use up? Toss them on top of some rice! Grilled chicken? Yep. Perfect. Not enough leftover chili for a full bowl? RICE.

Just trust me on this one. It's worth it.

More recipes you might enjoy:

  • Perfect Soft Boiled Eggs at High Altitude

  • Spicy Sesame Napa Cabbage with a Soft Boiled Egg

  • Brown Sugar Miso Ice Cream

  • 15 Minute Salmon Rice Bowls

Salmon Sashimi Rice Bowl

Serves 2

Ingredients

  • 2 cups cooked Japanese white rice

  • 6 oz salmon sashimi, cut against the grain into 6 slices

  • 1 avocado, sliced

  • 2 eggs, room temperature

  • white vinegar

  • 2 teaspoons furikake

  • 2 tablespoons light soy sauce

  • 1/2 teaspoon wasabi paste

Instructions

Begin by poaching the eggs:

  1. Bring a small pot of water to a gentle, not rolling, boil.

  2. Add a splash of white vinegar (about 2 teaspoons) to the water.

  3. Gently crack one of the eggs into a small bowl.

  4. Using a stirring motions with a wooden spoon, create a gentle whirlpool in the water.

  5. Carefully drop the cracked egg into the center of the whirlpool.

  6. After 30-45 seconds, cover the pot and remove from the heat. Set aside until the egg white is cooked through by the yolk is still soft.

  7. Using a slotted spoon, remove the egg from the water and place it in a bowl and set aside.

  8. Repeat with the second egg.

Ingredients

  • 2 cups cooked Japanese white rice

  • 6 oz salmon sashimi, cut against the grain into 6 slices

  • 1 avocado, sliced

  • 2 eggs, room temperature

  • white vinegar

  • 2 teaspoons furikake

  • 2 tablespoons light soy sauce

  • 1/2 teaspoon wasabi paste

Instructions

  1. Bring a small pot of water to a gentle, not rolling, boil.

  2. Add a splash of white vinegar (about 2 teaspoons) to the water.

  3. Gently crack one of the eggs into a small bowl.

  4. Using a stirring motions with a wooden spoon, create a gentle whirlpool in the water.

  5. Carefully drop the cracked egg into the center of the whirlpool.

  6. After 30-45 seconds, cover the pot and remove from the heat. Set aside until the egg white is cooked through by the yolk is still soft.

  7. Using a slotted spoon, remove the egg from the water and place it in a bowl and set aside.

  8. Repeat with the second egg.

  9. Combine the soy sauce and wasabi in a small bowl and stir to combine. Set aside.

  10. Scoop the rice into two serving bowls.

  11. Top with the sliced avocado, sashimi, and poached egg.

  12. Sprinkle with the furikake and drizzle with the soy-wasabi mixture.

  13. Serve immediately.

  14. Combine the soy sauce and wasabi in a small bowl and stir to combine. Set aside.

  15. Scoop the rice into two serving bowls.

  16. Top with the sliced avocado, sashimi, and poached egg.

  17. Sprinkle with the furikake and drizzle with the soy-wasabi mixture.

  18. Serve immediately.


In Lunch & Dinner, No Added Sugar Tags Avocado, Eggs, healthy, Japanese Food, Rice, salmon
14 Comments
Older →

Search Posts


Featured Posts

Summary Block
This is example content. Double-click here and select a page to feature its content. Learn more
Featured
Jul 30, 2025
Cursus Amet
Jul 30, 2025
Jul 30, 2025
Jul 23, 2025
Pellentesque Risus Ridiculus
Jul 23, 2025
Jul 23, 2025
Jul 16, 2025
Porta
Jul 16, 2025
Jul 16, 2025
Jul 9, 2025
Etiam Ultricies
Jul 9, 2025
Jul 9, 2025
Jul 2, 2025
Vulputate Commodo Ligula
Jul 2, 2025
Jul 2, 2025
Jun 25, 2025
Elit Condimentum
Jun 25, 2025
Jun 25, 2025
Jun 18, 2025
Aenean eu leo Quam
Jun 18, 2025
Jun 18, 2025
Jun 11, 2025
Cursus Amet
Jun 11, 2025
Jun 11, 2025
Jun 4, 2025
Pellentesque Risus Ridiculus
Jun 4, 2025
Jun 4, 2025
May 28, 2025
Porta
May 28, 2025
May 28, 2025

Powered by Squarespace