Lifelong Minnesota ELCA Lutheran here! Yep- hymn singing, church basement potlucking, sweater wearing Minnesota Lutheran. It’s a whole thing and I love it.
While I’ve been a solid Lutheran the majority of my life, I’ve spent a lot of time floating around searching for a church home in my adult life. Finding a place that fills the cups of everyone in our family has been a challenge. That’s why, when we first sat down at Gloria Dei Lutheran Church about a year ago, I all but sobbed at the feeling of home that washed over me. I could feel the immense love filling the space. I could see it in the little details, like the inserts in the hymnals explaining how to love and welcome families with small children, the way members warmly spoke to one another, the way the pastors looked each member in the eye, clearly and genuinely appreciating their presence, and the message that all are welcome and loved and treated with respect.
Yep. Cue the tears.
Of course, when we first started attending Gloria Dei, I couldn’t have predicted how much we would rely on this family of (then) strangers. We were fortunate to find some of the best friends we have here in Minnesota at this church, and having those relationships solidified before the pandemic began has proven to be life giving.
Of course, now we meet virtually on Sunday mornings. But because of the strong sense of community that has been so thoughtfully woven through the congregation, the connection is something we have relied on heavily through the past 6 months. It is truly a gift. Now, I’ve been able to do something I’ve missed so much: share food with others as a sign of love and support. Well, sort of. I’ve created this recipe for Gloria Dei Lutheran Church in St. Paul in the hopes folks will make and share it with their family, friends, and neighbors. There’s nothing quite like coffee and donuts after church, but I hope this serves as an acceptable (and delicious) alternative.
Best enjoyed with coffee and a good choral rendition of “Abide with Me”. Extra points if you’re wearing a Nordic sweater.
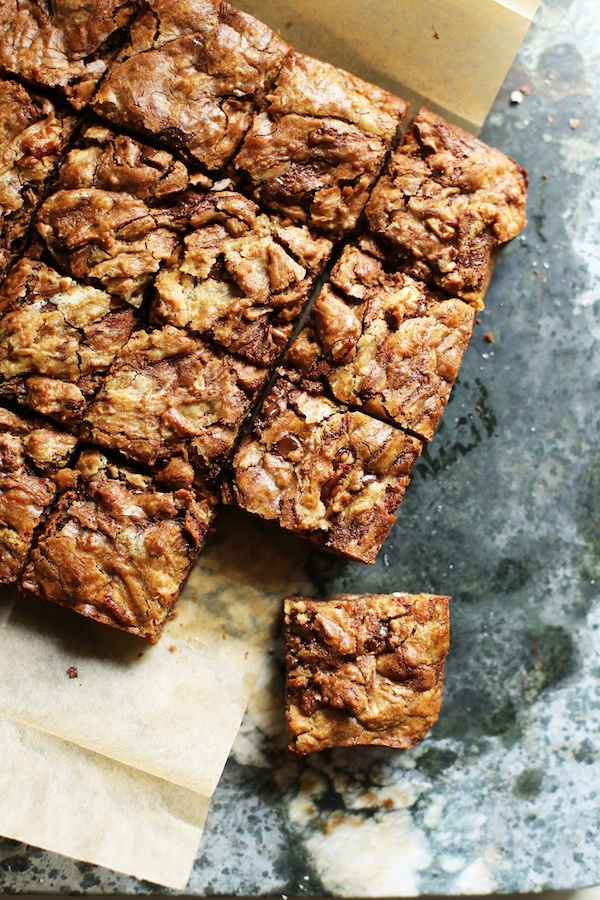
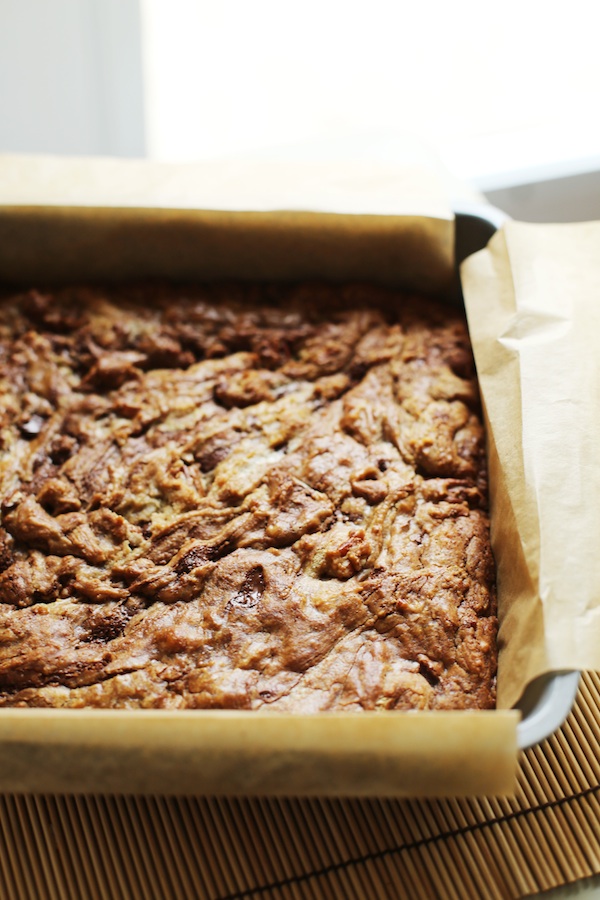
Spiced Orange Yeasted Coffee Cake
Ingredients
for the cake:
3 to 4 cups all purpose flour
1/4 cup sugar
1 1/2 teaspoons salt
2 1/4 teaspoons yeast
3/4 cup warm milk (around 100° F)
1 large egg plus 1 large egg yolk
1/2 cup unsalted butter, room temperature
for the filling:
zest of 2 oranges (save half for topping)
1/4 cup sugar
1/2 cup brown sugar
2 teaspoons cinnamon
4 tablespoons unsalted butter, room temperature
for egg wash:
1 egg, beaten lightly
1 tablespoon heavy cream or water
for the topping:
remaining orange zest
1/4 cup brown sugar
1/4 cup sugar
1/2 cup all-purpose flour
4 tablespoons unsalted butter, room temperature
Whisk the 3 cups of flour, sugar, and salt in a medium bowl and set aside.
In the bowl of a stand mixer, sprinkle the yeast over the warm milk with 1/2 teaspoon sugar and let stand for 5 minutes until foamy. Add the egg and egg yolk to the milk, then sprinkle in the dry ingredients. Mix with the dough hook for 1 minute.
Add 1/2 cup room temperature butter and mix again, at medium speed, until incorporated. Scrape the sides of the bowl as needed. If the dough seems overly sticky, add more flour 1/4 cup at a time. You may use all the flour or you may need more. In the end, you want a dough that is smooth and a tiny bit tacky. Cover the bowl with plastic wrap and let rise in a warm place for 1-1 1/2 hours until it has doubled in volume.
While your dough rises, mix together the filling ingredients in a small bowl. Use a fork or pastry cutter to combine until crumbly and set aside.
Preheat the oven to 375°F and prepare a clean, floured work surface. Punch the risen dough down and turn it onto your work surface. Gently roll the dough into a rectangle about 20 x 8 inches. Brush the edges with your egg wash in a 1 inch border, then spread the filling evenly over the surface of the dough, leaving the edges clean.
Roll the dough firmly and carefully into a long log. Create a seam by pinching the dough together to seal.
Shape the dough log into an upside down 'V', then twist it twice, pinching the ends together to seal. Transfer the dough to a greased loaf pan. Brush the top with egg wash and cover to rise for 20 minutes.
Mix the topping ingredients together, using a fork, until crumbly and with some visible flour coating the clumps. When the cake has finished its final rise, sprinkle with the topping.
Bake for 55 minutes to 1 hour. Place a foil lined baking sheet underneath the pan to catch any topping that happens to fall as the cake rises. *NOTE: If the top browns too quickly, cover it loosely with foil after the first 45 minutes baking time.
Allow the cake to cool for a minimum of 10 minutes and up to 1 hour before removing from the pan and serving or delivering to a friend.