This past weekend, we had a little adventure. We spent a magical day in the mountains enjoying the stunning colors, fresh air, and some peace and quiet. Well, as much peace and quiet as possible with a 3 year old and an 8 month old in tow. Down near Denver, it was a miserable 90-ish degrees, which made me even more thankful to be in the cooler mountain air. Somehow, this state is missing the memo that fall has begun. Here's hoping things change soon, because this cold-weather-lover is READY!

Until the weather decides to concede and let go of summer, at least we know there is an escape merely an hour and a half away from our house. Caribou Ranch Open Space was the perfect spot to take an easy hike with the kiddos after browsing around the Boulder Farmer's Market and driving through the tiny town of Nederland. The whole experience made me realize we don't do nearly enough adventuring. When we lived in Japan, we were on a constant high because everything felt new. It's been a struggle reclaiming that feeling since returning to the U.S. but this little excursion was a step in the right direction.


By Sunday night, we were all exhausted and in need of some comfort food so I fired up the rice cooker and took out some Japanese curry from the freezer. It was a simple meal and, just like we did in Japan, we made extra rice. We rarely know what it will be used for, but it always turns into something delicious. This time around, the leftover rice became my breakfast in the form of Breakfast Kimchi Fried Rice. I'm calling it 'breakfast' because I added bacon and topped it with a fried egg, but in reality it can be used at any and all meals.

There are few things in life that can't be made better by fresh air, gorgeous views, and a bowl full of rice. This morning, as I made this for breakfast, I thought about how wonderful it was watching Riley run on the mountain trails, pretending to be the Lorax, while Braden gazed at bright yellow aspen leaves against the bright blue sky. As I fried my egg in sesame oil, I remembered walking through our neighborhood in Japan at dinner time, smelling that exact nutty scent from the streets. As the bacon sizzled in the pan, I recalled the woody, sweet smell of the sap from the Ponderosa pines. And as I took the first, spicy bite of the Kimchi fried rice, I realized how much I rely on food to bring me to all of my favorite places. That simple bowl was not only helping me begin my day with a full stomach, it was helping me bring those little pieces of my past back into focus alongside my present. .
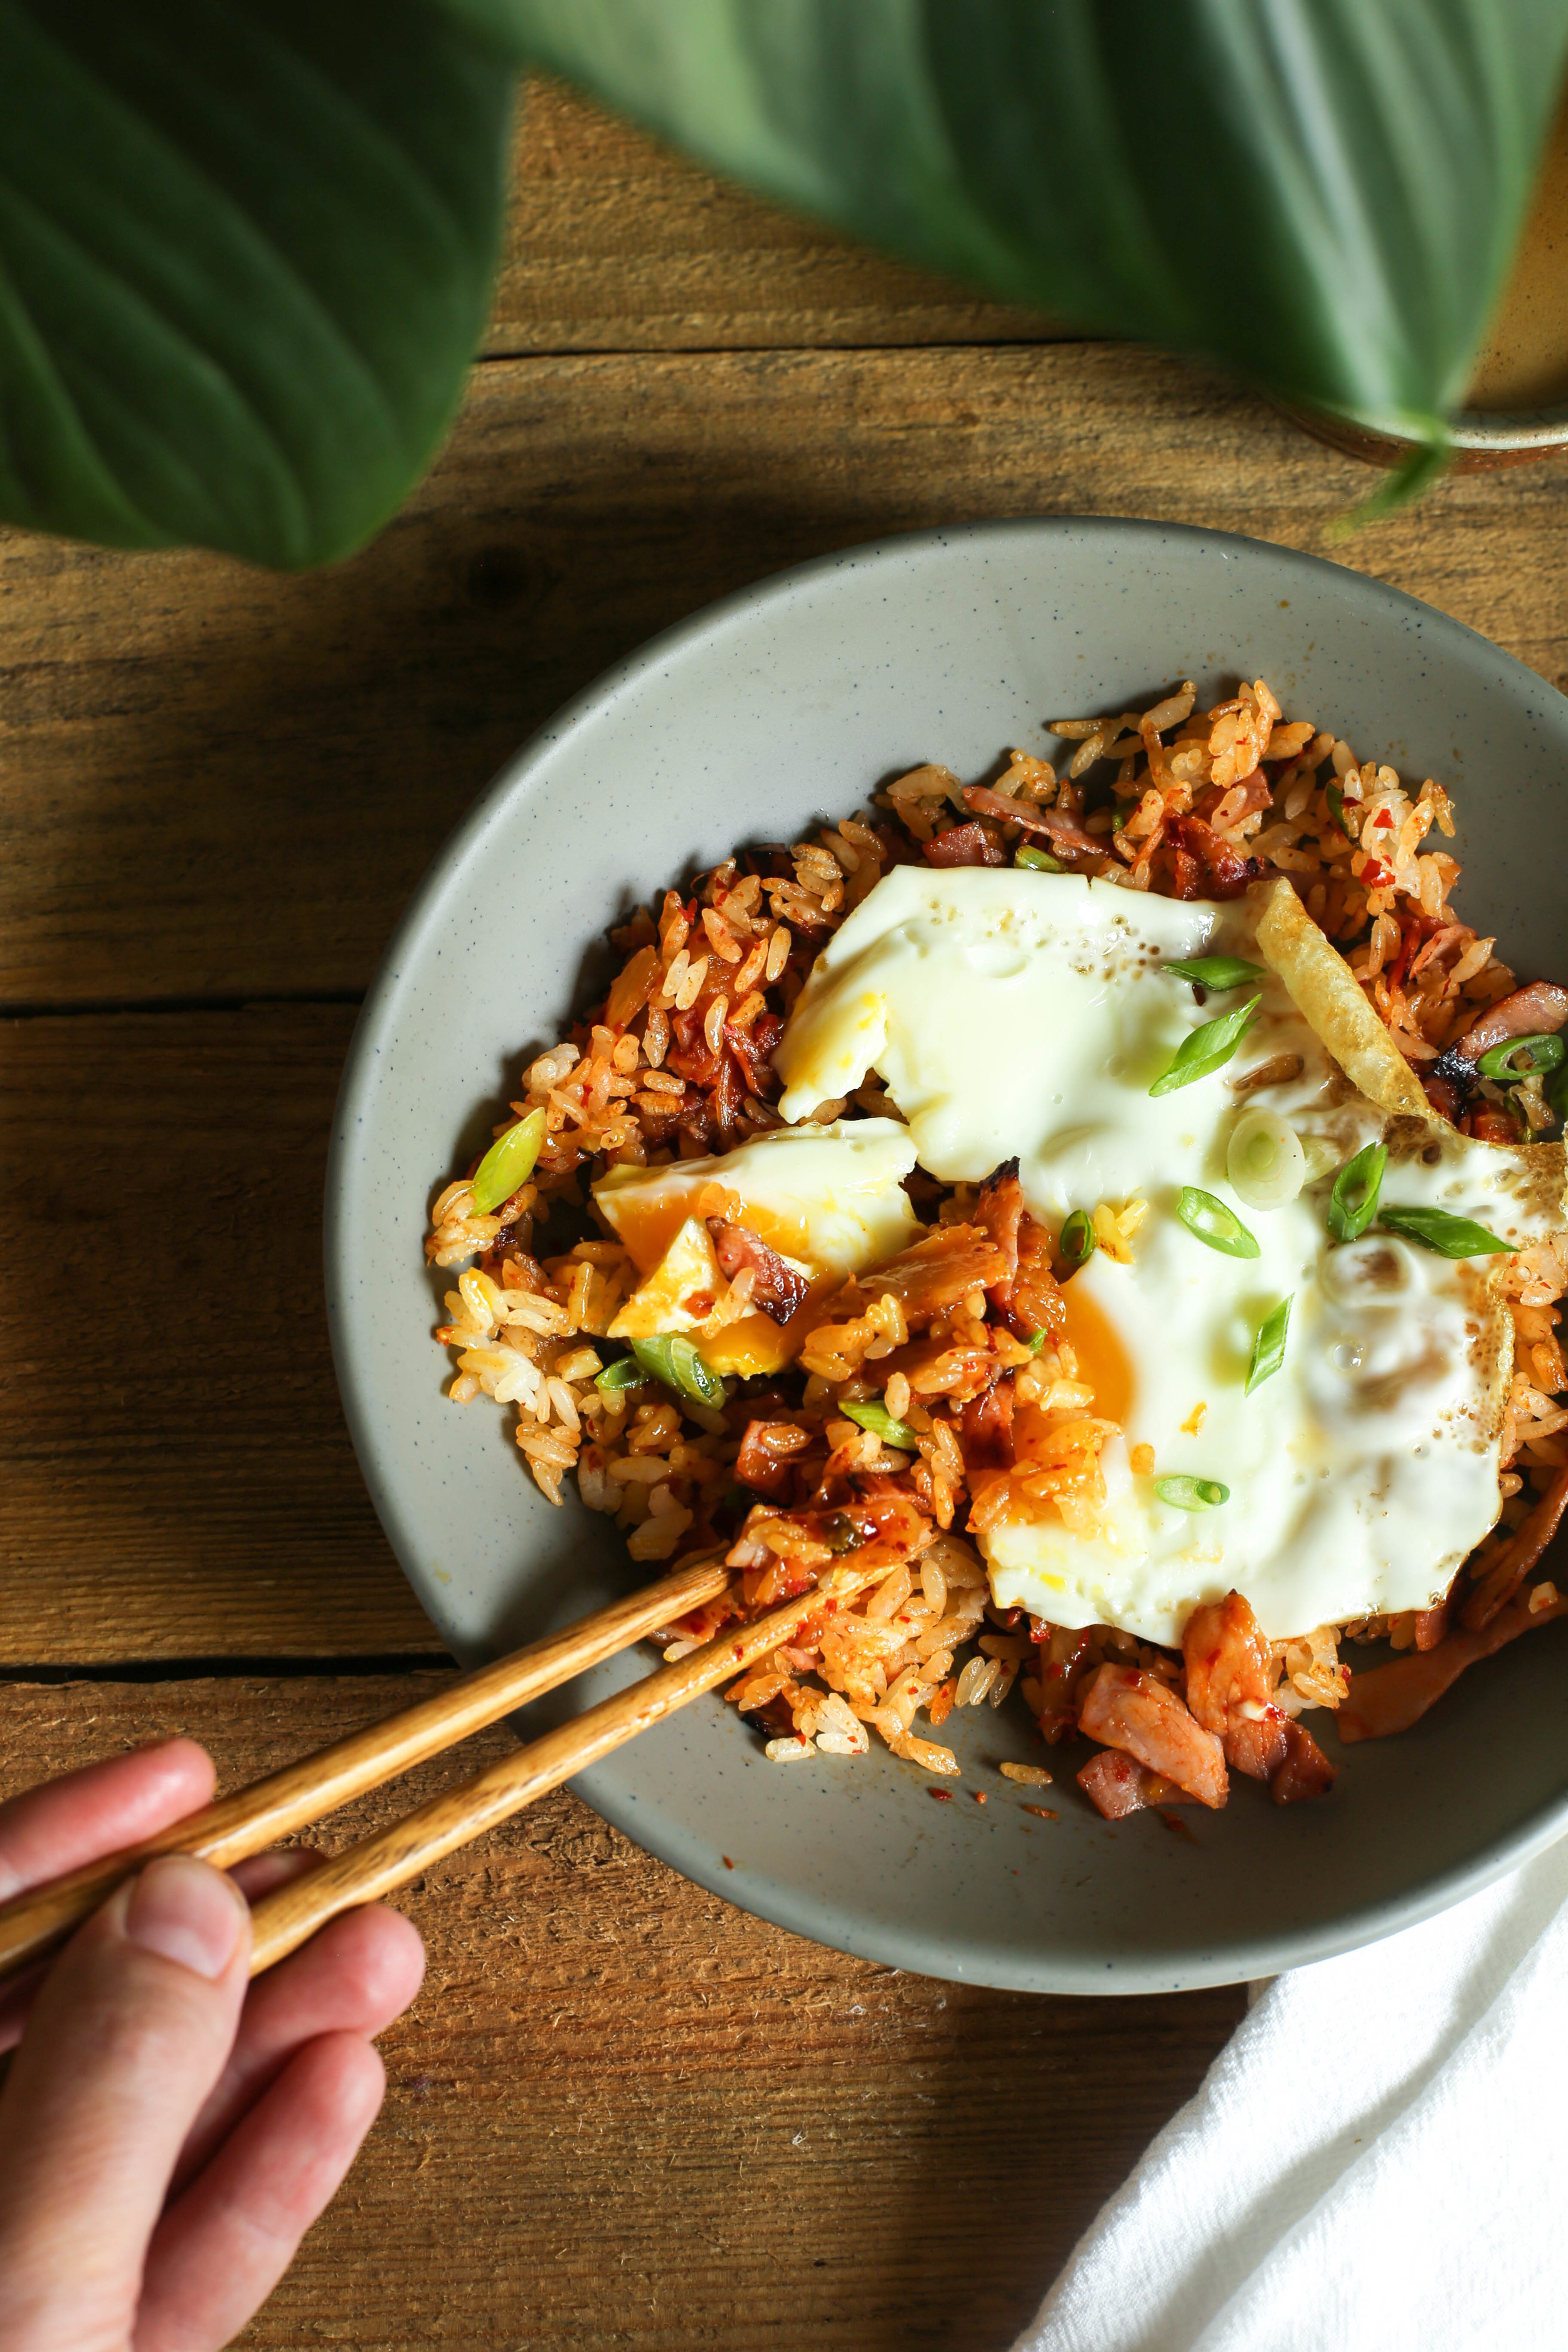
Breakfast Kimchi Fried Rice
Makes 1 serving
- 2 teaspoons toasted sesame oil
- 1 egg
- 1 slice of applewood smoked bacon, chopped
- 1/2 cup cooked white rice, preferably day-old and cold
- 2 tablespoons chopped kimchi
- 1 small scallion, sliced diagonally
- Heat the sesame oil over medium heat in a large skillet.
- Add the egg and fry until the edges begin to crisp and turn golden. Cover the skillet and reduce the heat to low. Continue to cook the egg until the white is set and the yolk is still runny. Place the egg on a paper towel-lined plate and set aside.
- Return the heat under the skillet to medium and add the bacon. Cook until golden and crisp. Remove all but 1 teaspoon of oil/bacon fat from the pan.
- Increase the heat to medium-high, add the rice to the pan, sprinkle with a small pinch of salt, and cook, stirring occasionally, until the rice begins to crisp in places.
- Stir in the kimchi and half of the scallion and stir until heated through. Transfer to a shallow bowl or place, top with the egg and the remaining scallions and enjoy!